Friday 30 March 2012

You Have Saved Our Lives, We Are Eternally Grateful!

Disney/Pixar # 3 - Toy Story 2


OK, so it's character costume cupcakes round 2! I was planning to make a couple of other characters this time, but unfortunately I ended up working late, running completely out of time and rushing to get these finished before everyone arrived; so I just made the little alien dudes. What I would say though, is if you're having a Toy Story themed party, these cupcakes are really quick and easy to make and go down a treat!

Image courtesy of FUCKYEAHTOYSTORY


Similar to Toy Story, I just made a vanilla cupcake with vanilla frosting as the base for these, putting the focus solely on the "costume" decoration.


Prep time: 15 minutes
Cook time: 12-15 minutes
Decoration time: 30 minutes
Makes 12 cupcakes (6 Woody and 6 Buzz)

Ingredients:

For the cupcakes:
100g margarine
100g caster sugar
1 medium egg
100g self raising flour
1tbsp milk
1tsp vanilla essence

For the butter cream:
50g margarine
100g icing sugar
a few drop of vanilla essence

For the decoration:
Some edible glue, or simple sugar syrup
Bronze shimmer dust
200g of fondant icing, coloured as per the photo below:


  • Preheat the oven to gas mark 5 and line a bun tray with cupcake cases. 
  • Beat the margarine and sugar together in a large bowl until creamy, then beat in the egg. Add in the flour and vanilla essence, then place a heaped teaspoon of the mixture into each cupcake case. Bake for 15-20 minutes, until golden brown and firm to touch.
  • Whilst the cupcakes are cooling, whip up your butter cream by placing the margarine, icing sugar and vanilla essence in a large bowl and beating until a smooth and creamy icing has formed. Place this to one side whilst you cut out your shapes.
  • Similar to Toy Story, I thought it would be easier to show you the shapes and assembly, rather than describe it, so here's a photo:


  • These ones were really quick and easy to put together, simple shapes to cut out and assemble, and to finish just a blob of bronze shimmer dust. (I didn't have time or patience to try to make the Saturn logo, and this seemed to do the trick!)
So there you have it, part two of the Toy Story trilogy - oooo0000000000000ooooooooooo.


Next up: Monsters, Inc.!

Happy Thoughts
x

Tuesday 20 March 2012

They Come, They Eat, They Leave...

Disney/Pixar # 2 - A Bug's Life


The scene that stood out for me from A Bug's Life was when Flick flies away on a dandelion seed, so I wanted to try to recreate that in cake form. When I started searching for "dandelion cakes" on Google for inspiration, I noticed a lot of recipes came up for dandelion cake - that is cake made with dandelion as an ingredient. Now I wasn't feeling adventurous enough to go out and source some actual dandelion root (finding pumpkin and shortening was hard enough!) so I thought I'd give Dandelion and Burdock cake a whirl, using an adaptation of the "Inca kola" recipe from The Emperor's New Groove.


The cupcake came out very moist - so moist in fact that the cases completely fell away from them. Even though the sponge was really airy, it didn't rise at all, so I ended up making double and sandwiching the cupcakes together. (the recipe below will make 24 individual cupcakes, or 12 once sandwiched together!) These didn't really turn out as planned, but they were still really tasty :-)

Prep time: 15 mins
Cook time: 20 mins
Makes 12 Cupcakes

Ingredients:
90g margarine
50g shortening
200g caster sugar
2 medium eggs
2 tbsp natural yogurt
180g self-raising flour
pinch of salt
1 tsp baking powder
1 tsp bicarbonate of soda
1 tbsp cocoa powder
100ml Dandelion and Burdock

for the icing:
100g butter
200g icing sugar
2tbsp cocoa powder
1 tbsp Dandelion and Burdock

I also used a little bit of red fondant icing and some black food colouring to make some little ladybugs to decorate.

  1. Preheat the oven to gas mark 3, and line a bun tray with cupcake cases.
  2. In a very large bowl mix together the butter and shortening until smooth and creamy.
  3. Continue beating whilst you add the sugar a little at a time, until it is well combined and the mixture is light in colour and fluffy. Add the eggs one at a time, beating continuously.
  4. Add the natural yogurt and beat until well combined.
  5. In a smaller bowl, sift together the flour, salt, baking powder, bicarbonate of soda and cocoa powder. Add the flour mixture and D&B to the cake batter a little bit at a time alternating between the two until just mixed.
  6. Pour the mixture into the prepared cake cases and bake for 20 minutes, until the cakes are moist but firm to touch. Allow the cakes to cool completely on a wire rack.
  7. Once cool, mix up your butter cream by combining the butter, icing sugar and cocoa together to form a smooth, creamy icing. Stir in the D&B a little at a time, beating well between each addition to avoid the mixture curdling.
  8. Remove the cupcakes from their cases (you'll probably find that half have already come away from their case on their own accord!) And sandwich two cupcakes together with your D&B butter cream. Once all of the cupcakes have been sandwiched, place the remaining buttercream into a piping bag and pipe swirls onto the top of each cake. Decorate with a few ladybugs, or any other bug-like creatures you care to make up.
  9. Serve with a lovely cuppa!


Next time we're back to Character Costume Cupcakes for Toy Story 2!

Happy Thoughts
x

Saturday 10 March 2012

Sheriff, This is No Time to Panic!

Disney/Pixar # 1 - Toy Story


I'm baaack! After a long hiatus from Disney-themed bakes after finishing the Disney Classic collection, my friends and I decided it was about time to get round to the Disney/Pixar collection, so here we are!


It's going to be slightly different this time. First off, it will not be a weekly event. (I'm afraid I don't have the time, nor money, nor waistline to commit to that again ^_^) There are only 12 movies in the collection this time though, so we're just going to have our Disney Movie Nights as and when we're able to. We are, however, hoping to fit in all of the movies before the release of Brave at the end of June - and have THAT as our finale this time round! Anyways, due to this fact, recipes will be appearing on your screens roughly every 10 days.


Another difference is that this time it will be just cupcakes. I've been toying with this as an idea for a while; the Disney/Pixar films are full of vibrant imagery which I think could translate really well into themed cupcakes, so that's what it will be. I figured that if Pixar can have it's own little bubble within the wider Disney-verse, the Disney/Pixar bakes can have their own little bubble within the wider Princess-and-the-Cake-iverse.


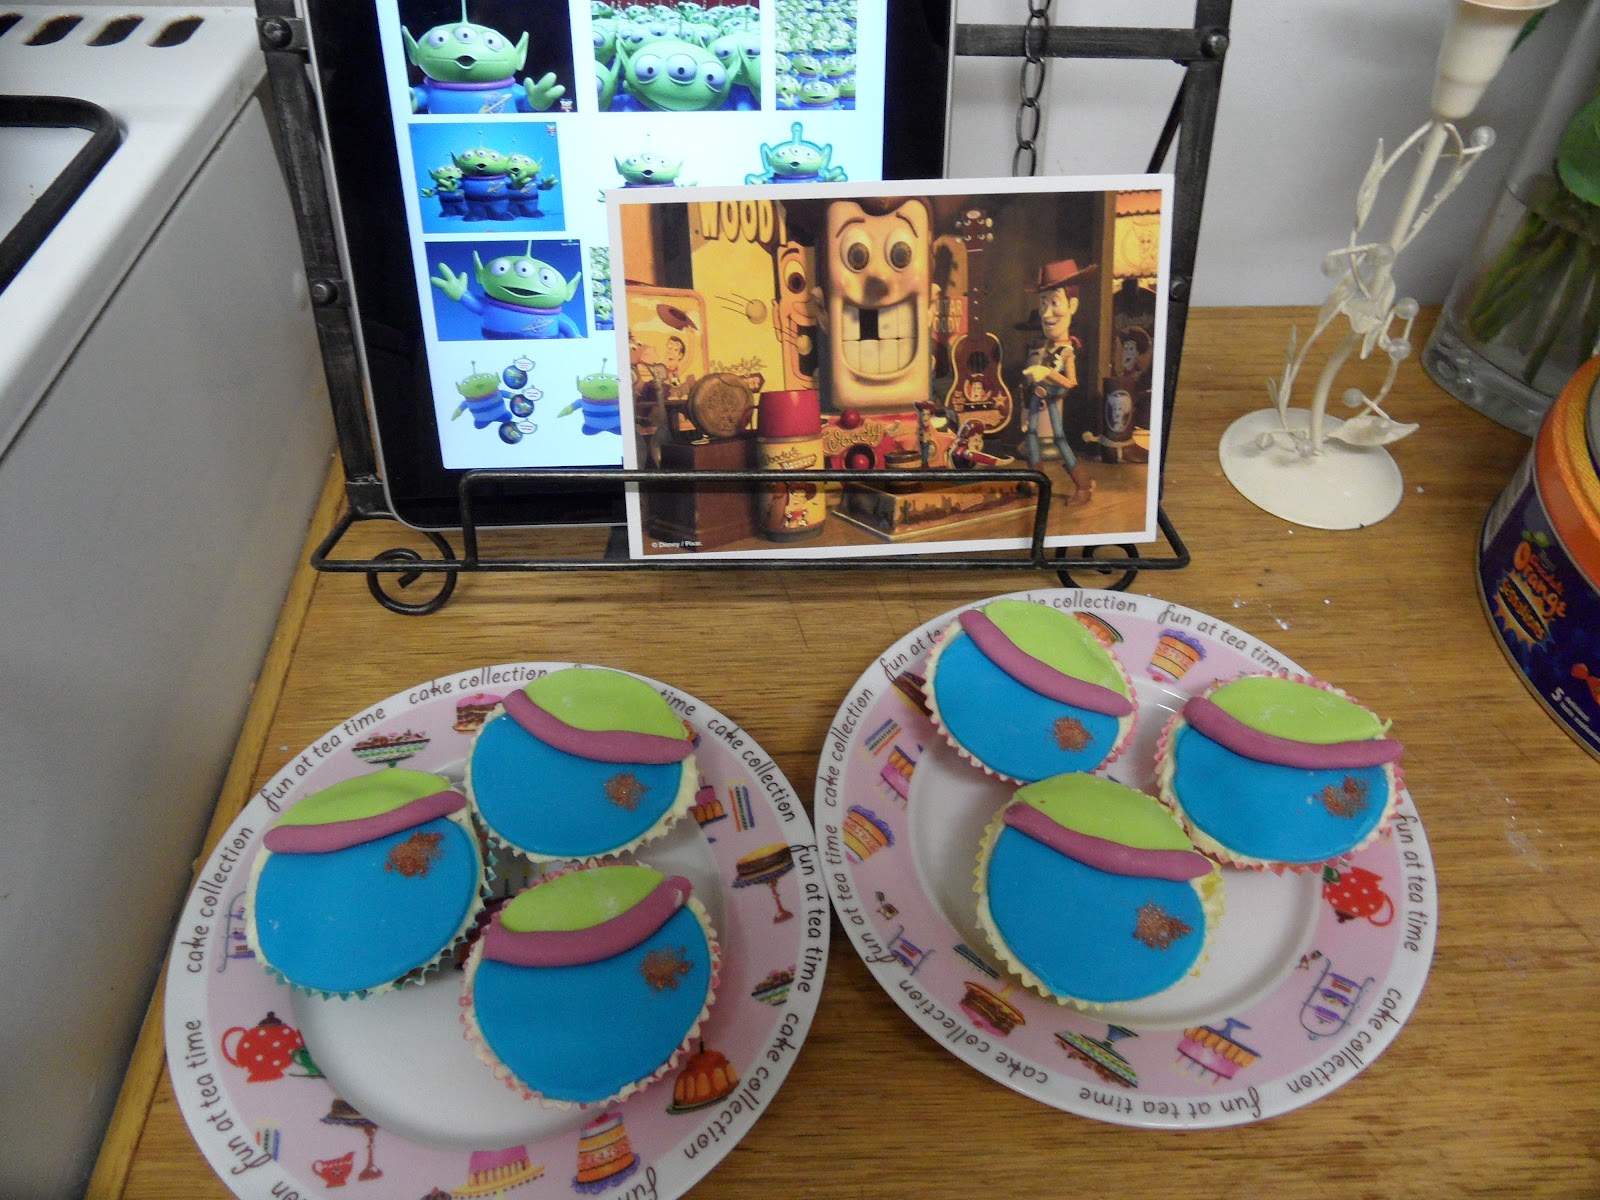
So to get the Disney/Pixar cakes started, we had the well-loved (and arguably the BEST Disney/Pixar film) Toy Story. Now, as if it's not challenging enough to come up with movie-theme cupcakes, Toy Story presented me with an additional challenge: there are three. I didn't want to (and didn't think I'd be able to) come up with three completely different ideas for each of the Toy Story films, as the films themselves all link nicely into one big story. But then I also didn't want to produce the same cupcakes three times running - that would make pretty boring reading for you! In the end I settled on an idea I could develop across the three movies: character costume cupcakes. I'd "dress up" my cupcakes in "costumes" to represent the key characters, that way each time I could work on different characters. It would be a trilogy of cupcakes ^_^

I decided that as the focus of the Toy Story trilogy cupcakes would be on the decoration I'd make a basic vanilla sponge this time. I also decided that to start my cupcake trilogy I could only ever take inspiration from the two main-men: Woody and Buzz.

Prep time: 15 minutes
Cook time: 12-15 minutes
Decoration time: 30 minutes
Makes 12 cupcakes (6 Woody and 6 Buzz)

Ingredients:

For the cupcakes:
100g margarine
100g caster sugar
1 medium egg
100g self raising flour
1tbsp milk
1tsp vanilla essence

For the butter cream:
50g margarine
100g icing sugar
a few drop of vanilla essence

For the decoration:
Some edible glue, or simple sugar syrup
Bronze shimmer dust
Long red, green and blue sprinkles
Red ball sprinkles
White chocolate stars
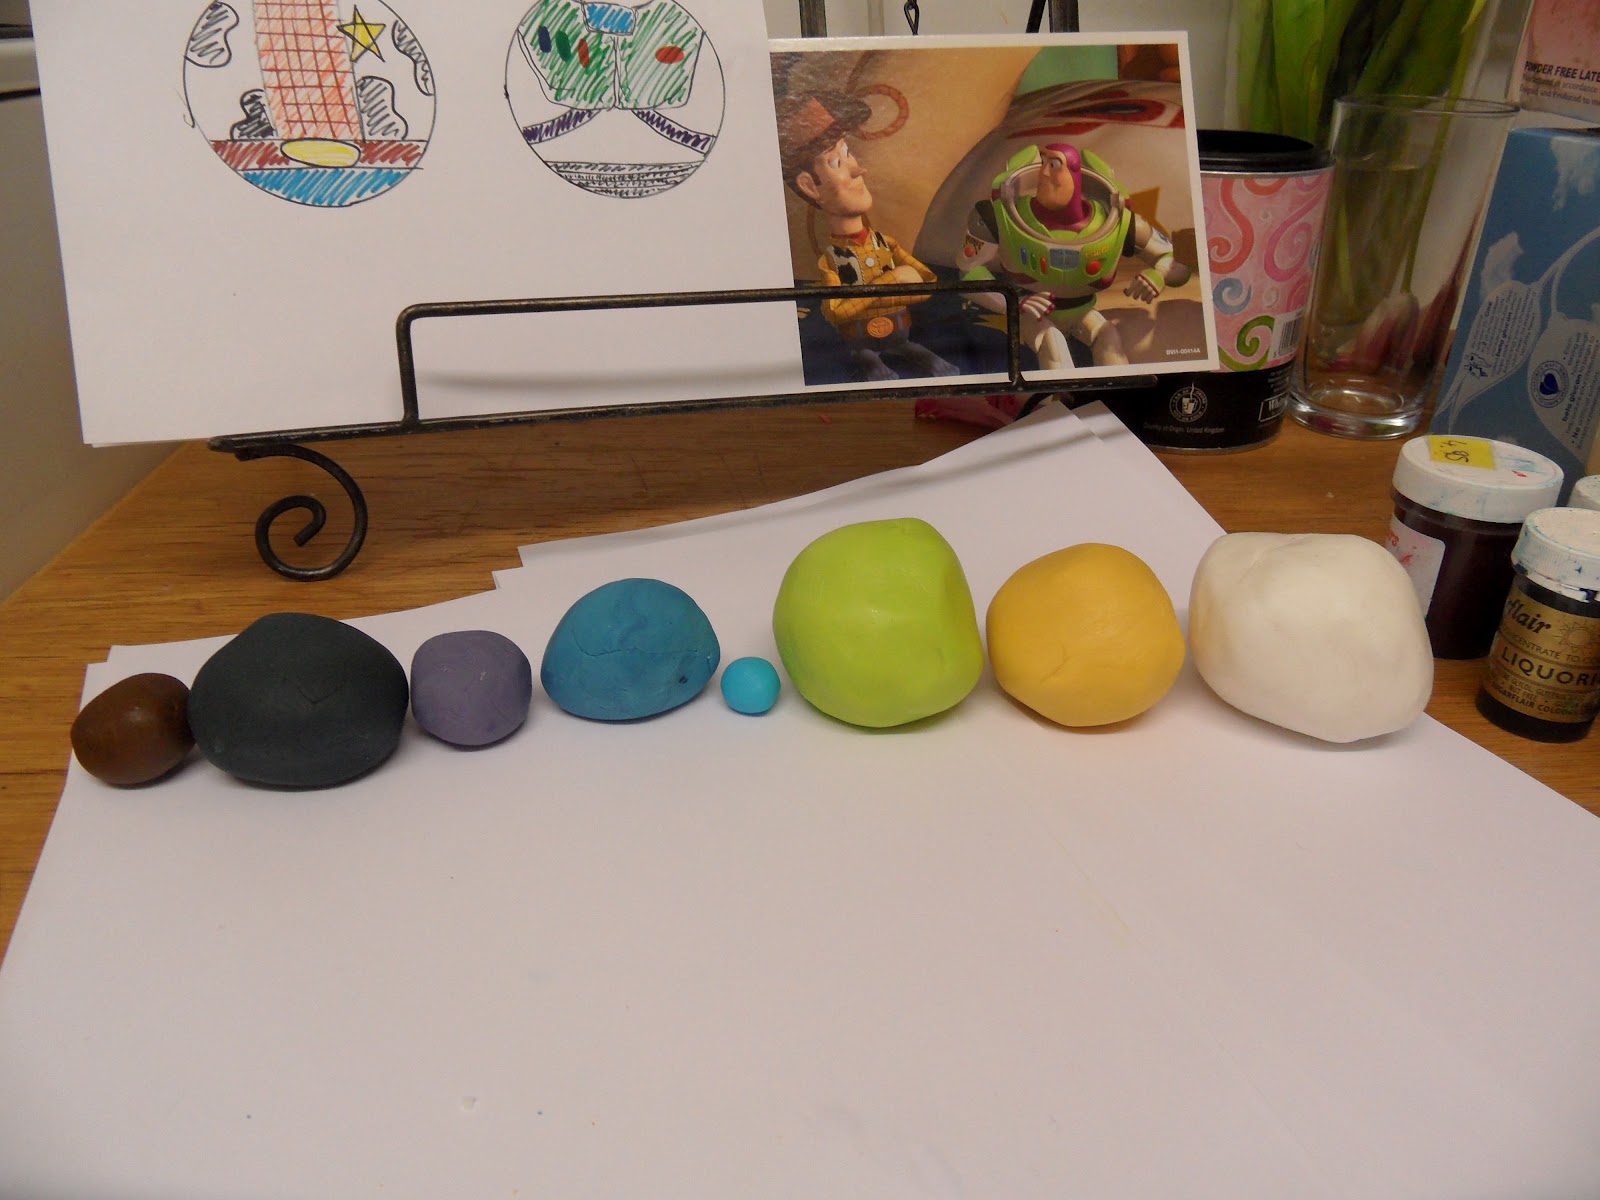
Some ready to roll fondant icing and plenty of food colouring! Ok, that's very vague, but I forgot to measure out how much fondant icing I used. If I recall it was roughly 2/3 of a 500g packet. In hope it helps, I've provided below an image of both the colours you'll need and the relative quantities of each colour:


  • Ok, so best to start by baking the cupcakes! Preheat the oven to gas mark 5 and line a bun tray with cupcake cases.
  • Beat the margarine and sugar together in a large bowl until creamy, then beat in the egg. Add in the flour and vanilla essence, then place a heaped teaspoon of the mixture into each cupcake case. Bake for 15-20 minutes, until golden brown and firm to touch.
  • Whilst the cupcakes are cooling, whip up your butter cream by placing the margarine, icing sugar and vanilla essence in a large bowl and beating until a smooth and creamy icing has formed. Place this to one side whilst you cut out your shapes.
  • I think it will be easier for me to show you the shapes I cut, rather than to tell you, so I've pasted a photo below. The best tip I could give is to make sure you roll out your icing really thin, as you will be layering it up and the last thing you'll want is a layer of icing as thick as the cake! I also used the bronze shimmer dust to "paint" Woody's sheriff badge and belt buckle bronze.


  • So now for the assembly: spread a little butter cream over each cupcake, then start to assemble your icing shapes, using the edible glue to stick down each piece. Again, I think it's probably easier to show you what I did rather than try to describe it, so here's a photo collage of the step-by-step assembly of the Buzz and Woody cupcakes:


So there you have it; Woody and Buzz character costume cupcakes! Ta-dah!


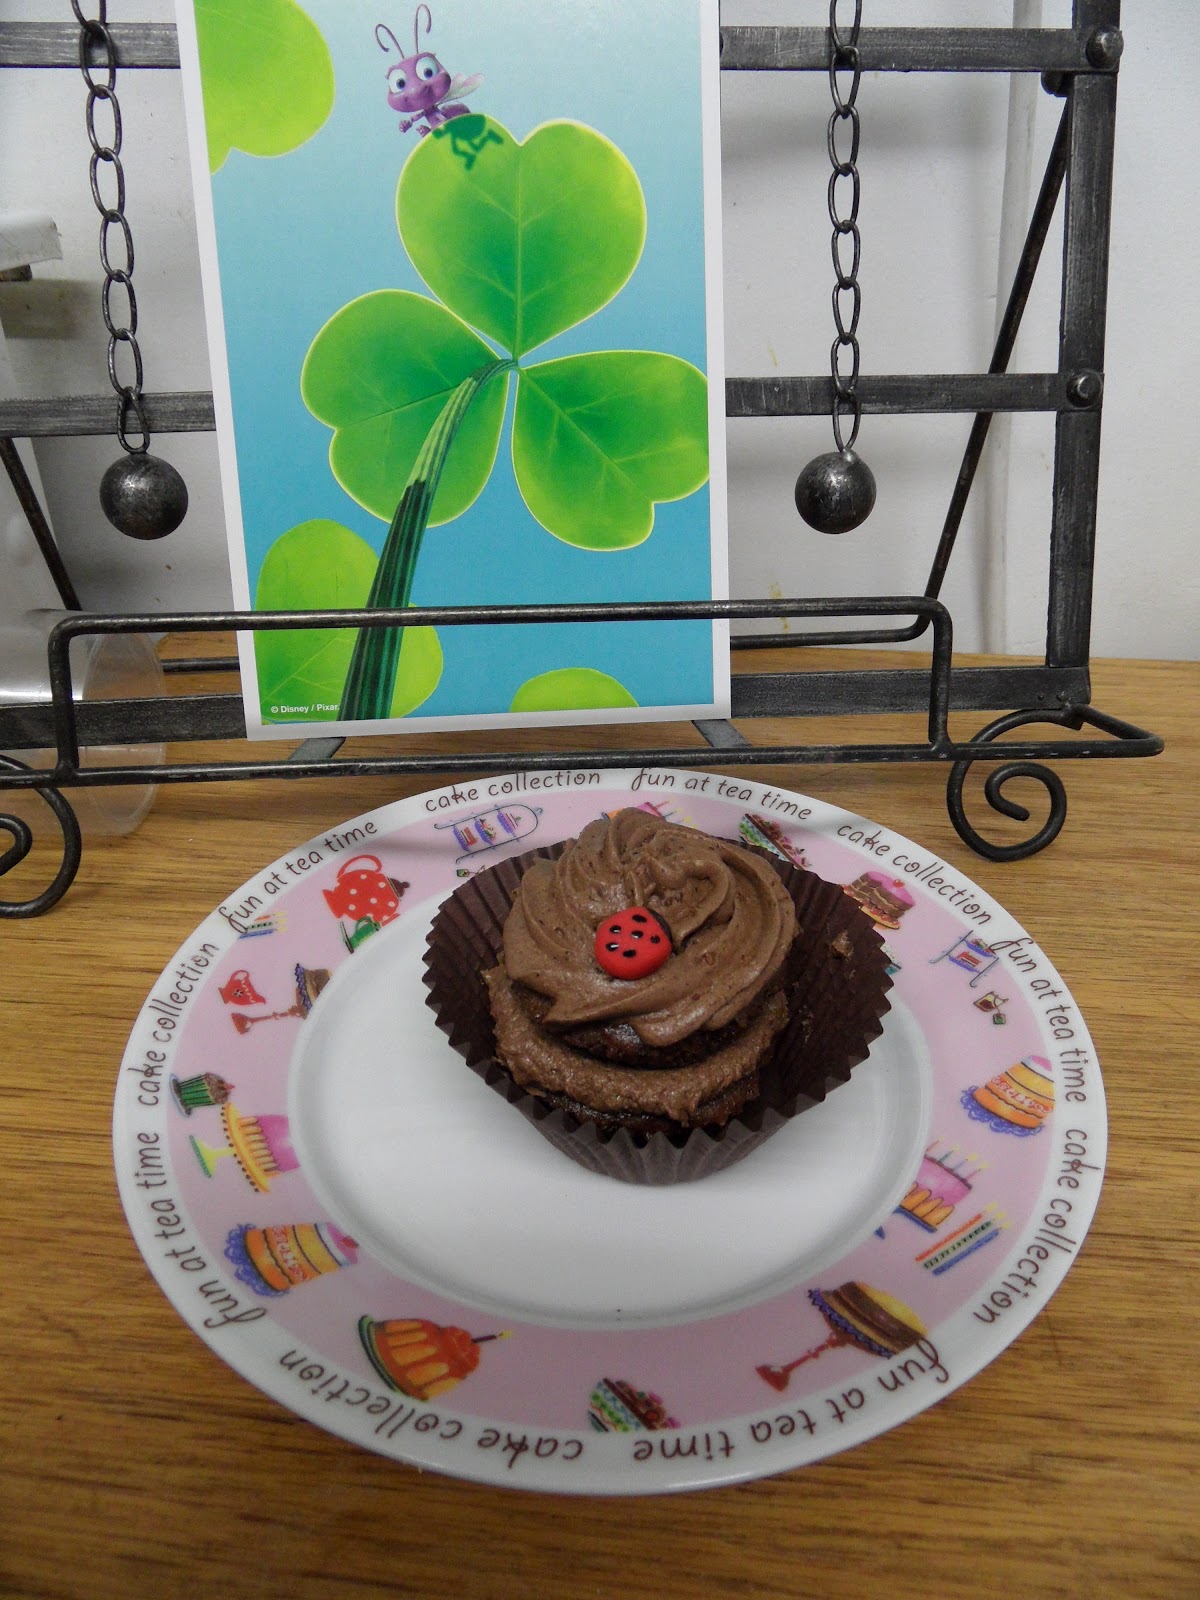
Next up it's A Bugs Life!

Happy Thoughts
x