Wednesday 30 May 2012

Ka-Chow! (You Hurt Your What?)

Disney Pixar # 7 - Cars


For Cars, I wanted to create the logos from the sides of Lightening McQueen, The King and Chick Hicks in fondant form. However, similarly to Toy Story 2 I ended up running out of time to make multiple characters, so focused my attention on the main man: LIGHTNING! KA-CHOW!


I haven't made many chocolate cakes this time round, so I thought I would have a little try with that. Again, just adapted my basic cupcake recipe and made it up as I went along! The decoration did not turn out as well as I had hoped (it is supposed to be the 95 lightning bolt logo thing as seen on McQueen's side in the pic above!) but that's usually the case when I do things like this, particularly when time is short!

Prep time: 30 mins
Cook time: 15-18 mins
Makes 12 cupcakes

Ingredients:

For the decorations:
300g ready to roll icing, coloured red, orange and yellow in roughly equal parts
Black edible paint/food colouring

For the cupcakes:
100g margarine
100g caster sugar
1 medium egg
75g vanilla yogurt
100g self-raising flour
50g cocoa powder

For the butter cream:
75g margarine
150g icing sugar
few drops of vanilla essence to taste


  1. Roll out your icing, then cut out and paint the designs onto them, as per the photos above. Leave these to one side to dry. To create the multi-toned fondant for the lightning bolts, place the three colours side by side, squish together then roll out, as so: 
  2. Preheat the oven to gas mark 4 and line a bun tray with cupcake cases.
  3. Beat the margarine and sugar together until creamy, then beat the egg and yogurt into the mixture. Sift the flour and cocoa powder into the bowl then fold into the mixture until just combined.
  4. Place a tablespoon of the mixture into each cupcake case then bake for 15-18 minute until firm and springy to touch. Remove from the oven and cool on a wire rack.
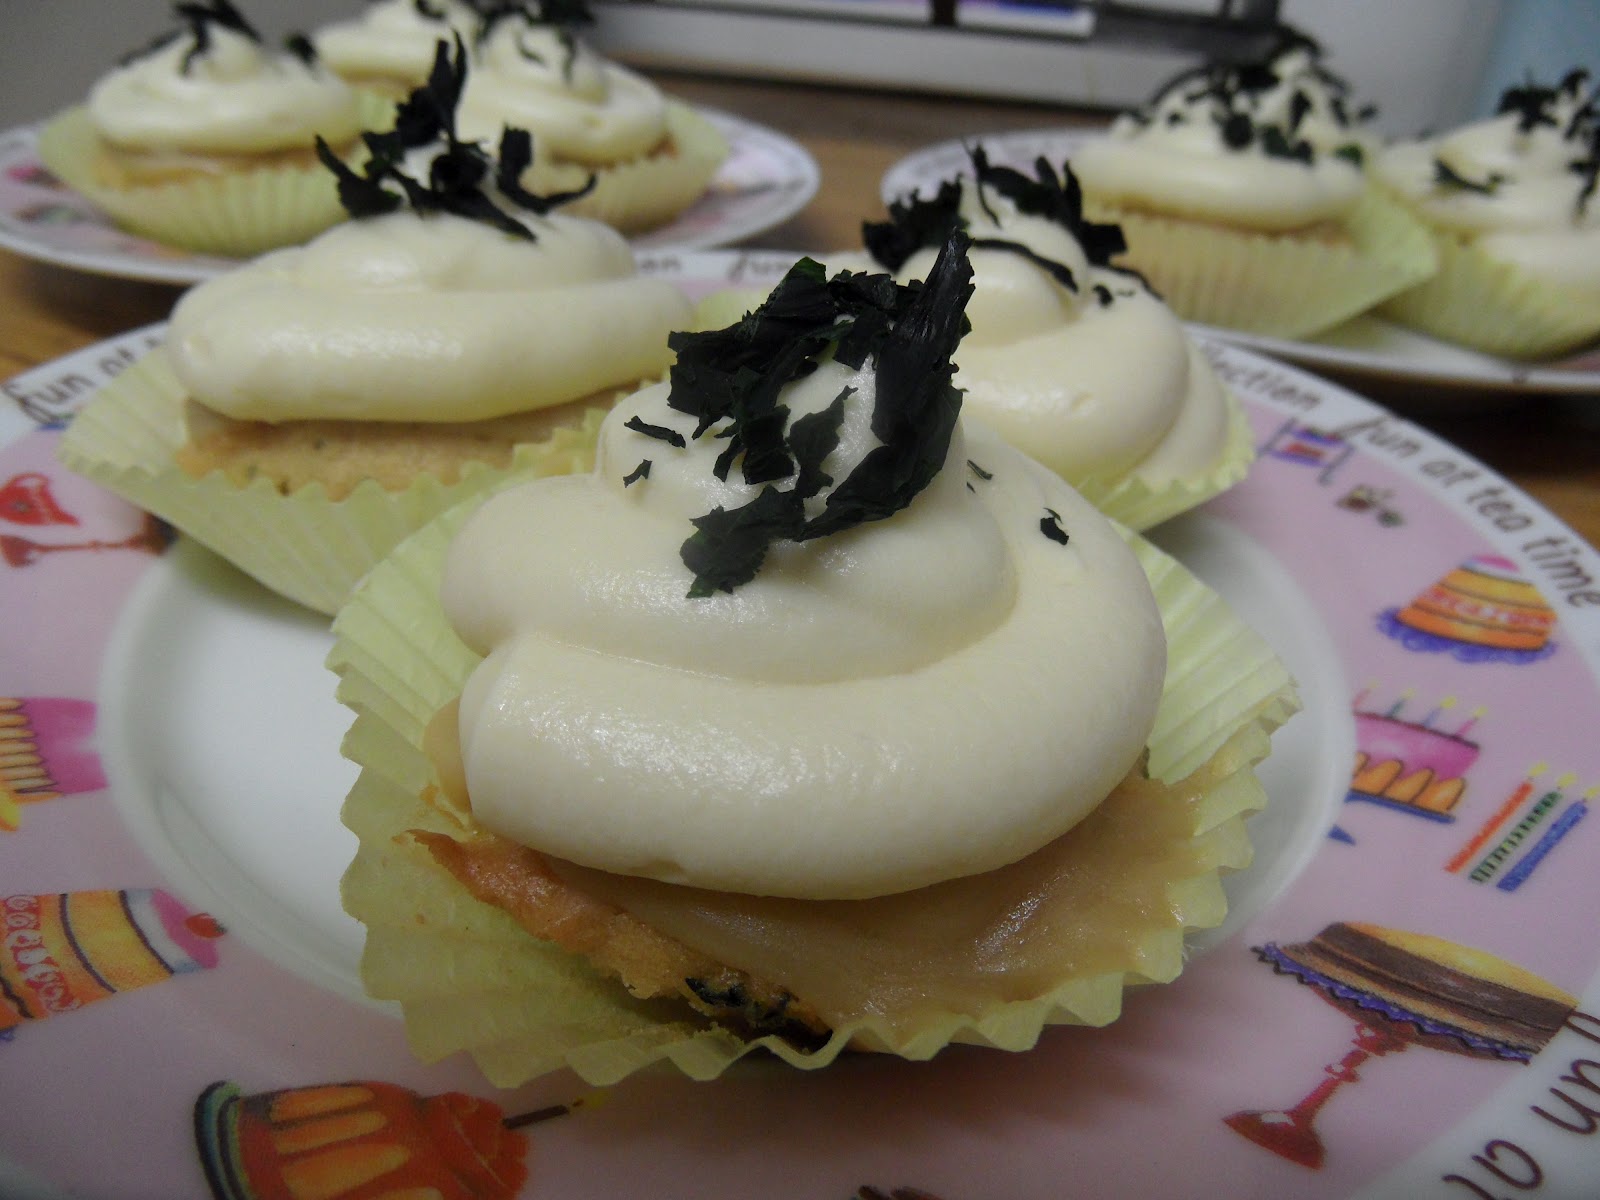
  5. Once the cupcake have cooled, prepare the butter cream by placing all of the ingredients into a bowl and beating until smooth and creamy. Spread a little icing over each of the cupcakes, then place a circle of red fondant over this. Add the lightning bolt and "95" logo on top of this, using a little butter cream to stick each piece down.
  6. Best served with a cup of tea whilst watching Cars with friends :-)
Next time it's Ratatouille, and I'll be experimenting with some savoury cupcakes...

Happy Thoughts
x

Wednesday 23 May 2012

I Never Look Back, Darling! It Distracts from the Now.


Disney/Pixar # 6 - The Incredibles


OK, so strictly speaking I broke the rules with this one. I had said at the beginning that I would only be baking cupcakes for the Disney Pixar Collection, but you can probably tell from the photos above that I actually ended up baking muffins this time. But, there is a very good reason for this. You see, a cupcake would have been to small to contain the really INCREDIBLE stuff inside...
.
.
.
.
.
TA DA!!


I don't really know where or how I came up with this idea, but it was very tricky to execute and I'm not entirely pleased with how they turned out. Still, they were suitably impressive, and tasted very,very good! The premise is that the cakes would look normal from the outside, like The Incredibles. But just like The Incredibles, they'd be completely SUPER on the inside.


Jack-Jack approves.

One further comment I'd like to make is that with this recipe you'll have a lot of cake scraps left over. Seriously, A LOT!! Don't throw these away - just pop them in a sealed container and into the freezer and use them to make cake pops in the future!

Prep time: 45 minutes
Cook time: 50 minutes (total)
Makes 6 muffins

Ingredients:

For The Incredibles logo (for the inside)
100g margarine
100g caster sugar
1 medium egg
100g self raising flour
1 tsp vanilla essence
2 heaped teaspoons cocoa powder
yellow and red food colouring
1tbsp mixed fruit jam

For the red velvet muffins:

60g unsalted butter
150g caster sugar
1 egg
1 tbsp unsweetened cocoa powder
red food colouring
1/2 tsp pure vanilla extract
120 ml buttermilk
150g plain flour
1/2 tsp bicarbonate of soda
1 1/2 tsp white vinegar
6 white chocolate chips


For the frosting:
75g cream cheese
50g shortening
250g icing sugar
1 tsp lemon juice


  1. Preheat the oven to gas mark 5, and line a bun tray with cupcake cases
  2. Start by beating together the margarine and caster sugar until smooth and creamy, then beat in the egg. Sift in the flour and fold into the mixture, adding a drop or two of vanilla essence, to taste. 
  3. Pour half of the mixture into a separate bowl, and add the cocoa powder to this. Pour this into 6 of the prepared cupcake cases. 
  4. Going back to the remaining vanilla cake mixture, add a few drops of yellow food colouring until the desired shade is reached. Spoon yellow batter into three of the prepared cupcake cases. Add a drop of red food colouring to the remaining batter to turn it orange, and use this to fill the final three cupcake cases. Bake all 12 cupcakes for 15-28 minutes, until springy to touch. Place on a wire rack to cool completely.
  5. Turn these cakes out of their cases. Cut an oval shape out of the chocolate cupcakes, around 1cm thick, then cut these in half. Cut the yellow cupcakes into 1cm strips, then cut the orange cupcakes into really thin strips. (See the images below for a much clearer illustration of what I'm on about here!) Stick the brown, yellow and orange bits together with a little jam to form six "incredibles" logos.

6. Put the "logos" to one side whilst you make the red velvet muffin batter. Preheat the oven to gas mark 4, and line a muffin tray with paper cases. 
7. Beat the butter and sugar together until light and fluffy, then beat in the egg.
8.  In a separate bowl, mix the cocoa, red food colouring and vanilla extract to make a thick paste. Add this to the butter mixture and mix thoroughly until combined. Stir in half of the buttermilk, followed by half of the flour, then repeat with the remaining buttermilk and flour until both are fully incorporated. add the bicarbonate of soda and vinegar and beat until you have a smooth, even batter.
9. Place a teaspoon of batter into each muffin case, then push a logo down into this. Cover the logos with the remaining batter and smooth the top with the back of a spoon. Place a single chocolate chip on the side of each muffin to help you remember which way the logo faces once baked! Put these in the oven for 25-30 minutes until deep red and firm to touch.


10. Once the muffins are completely cool, prepare the frosting. Beat all of the ingredients together until smooth and creamy (and tasty) then pipe onto the muffins. Serve and enjoy!


Next time it's Cars!

Happy Thoughts
x

Wednesday 16 May 2012

NEMO! That's a Nice Name.

Disney/Pixar # 5 - Finding Nemo


I think that as this project progresses, I'm becoming much more crazy inventive with my ideas. For Finding Nemo, I really wanted to bake cupcakes that tasted like the sea. The best I could come up with was to incorporate seaweed into the cakes, so that's what I did.


I picked up some dried seaweed from a Korean supermarket near me, and was a little disappointed to find that it didn't really taste of sea - in fact, it didn't really taste of anything. Still, I had committed to the idea so I had to see it through. I started to think of other flavours that might compliment the seaweed, and settled on peanut butter and caramel - yummy!


I just made this one up as I went along - so give it a try! The caramel recipe I used was the one on the back of the tin of Carnation Condensed Milk. Of course you could make it easier on yourself and just buy their ready made caramel!

Prep time: 45 minutes
Cook time: 15 minutes
Makes 12 cupcakes

Ingredients:

For the Caramel (if making yourself)
100g slightly salted butter
100g dark brown soft sugar
 397g tin of Condensed Milk

For the cupcakes:
75g crunchy peanut butter
75g margarine
100g golden caster sugar
1 medium egg
100g self-raising flour
10g seaweed

For the frosting:
150g shortening
300g icing sugar
130g caramel (made using ingredients above)


  1. If you're making your own caramel, you'll want to start with this as it will take a while to cool and set. Using a thick-based pan over a low heat, melt the butter and sugar together until the butter has melted and the sugar completely dissolved. Add the condensed milk and increase the heat slightly. Stir continuously until the mixture is thick and golden brown, then tip into a glass bowl. Leave to cool completely before placing into the fridge until needed.
  2. Preheat the oven to gas mark 5 and line a bun try was paper cases.
  3. To make the cupcakes, beat the peanut butter, margarine and sugar in a large bowl until creamy. 
  4. Beat in the egg, then sift and fold in the flour until just combined. 
  5. Chop the seaweed into small pieces. Place a tablespoon of the chopped seaweed to one side to use as decoration, and add the rest to the cake batter. Spoon a tablespoon of the mixture into each cupcake case then bake for 15 minute, until golden brown and firm to touch. Remove from the oven and allow to cool in the tin slightly before transferring to a wire rack to cool completely.
  6. Once the cakes have cooled, prepare the frosting. Place the shortening, icing sugar, and 100g of the caramel into a bowl and beat until the ingredients combine into a smooth and creamy frosting. Spread a little of the remaining caramel over the top of each cupcake, then pipe on the caramel frosting. Sprinkle with the remaining chopped seaweed to decorate and serve.


Next time it's The Incredibles, and I'll be making some incredible red velvet muffins!

Happy Thoughts
x

Saturday 12 May 2012

Put That Thing Back Where It Came From, Or So Help Me

Disney/Pixar # 4 - Monsters, Inc.


I remember watching a feature on Pixar's animation triumphs, (although I don't remember what - it may have been bonus features!), and on that it was mentioned the Monsters, Inc. was the first time that a 3D computer animation had been able to successfully create long fur/hair. I mean, I wouldn't want to be quoted on this, but it was my inspiration for these cakes. If Monsters, Inc. was a triumph in texture for Pixar, then I would focus on texture too - smooth for Mike Wazowski, and furry for Sully!


I knew I'd be using coconut for Sully's fur, so I decided to make a cupcake version of the Jungle Fruits Cake I baked for Jungle Book way back when. It worked really well, although you will find yourself with rather a lot of mango left over!

Prep time: 20 minutes
Cook time: 20 minutes
Makes 12 cupcakes (6 Mike and 6 Sully)

Ingredients:
For the cupcakes:
1/4 of a medium sized ripe mango
1 medium sized ripe bananas
1tsp vanilla extract
110g margarine
70g light brown sugar
1 egg
25g desiccated coconut
110g self raising flour
1/2tsp bicarbonate of soda
1tsp mixed spice

To decorate:
150g cream cheese
300g icing sugar
Juice and zest of half a lime
40g desiccated coconut
Blue, purple and green food colouring


  1. Preheat the oven to gas mark 3 and line a bun tray with cupcake cases
  2. Peel, stone and chop the mango, and then puree the flesh. Put the mango to one side for now. Peel the banana and break this up into a small bowl. Mash the banana to a pulp using a fork, ensuring that there are no large lumps remaining. Mix the mango puree into the mashed banana, and add the vanilla extract. Put this fruit mixture to one side.
  3. In a large mixing bowl, cream together the butter and sugar until light and fluffy. Beat the eggs, and then add these to the butter and sugar mixture a little at a time. 
  4. Stir in the banana and mango mixture, and then add the desiccated coconut.
  5. Sift in the flour, bicarbonate of soda and mixed spice, and fold into the mixture until thoroughly combined. 
  6. Place 2tsps of mixture into each cupcake case and smooth down with the back of a spoon. Bake in the oven for 20 minutes until a cocktail stick inserted into the centre of the cake comes out clean. Remove the cakes from the oven and cool in the pan for 10 minutes.
  7. Whilst the cakes are cooling, colour your coconut. I coloured 15g blue, 10g purple and 5g green (the other 10g is used later!). Put the coconut into a food bag with a drop of the desired colouring and seal the bag. Massage between your hands until the coconut has soaked up all of the colour. Tip: if your colour isn't spreading too well, add a drop of water to soften the coconut
  8. Once the cakes have cooled, prepare the frosting by mixing the cream cheese and icing sugar together until just combined. Split this into two bowls. For the first bowl, add the remaining 10g of dessicated coconut and some blue food colouring. For the second bowl, and the lime zest and juice, then put 2tbsp to one side. Colour the remaining icing green.
  9. Now for assembly! 
    • For Sully - cover 6 of the cupcakes with the blue frosting, and then sprinkle the blue coconut all over it. Place dots of purple coconut on top of this and press lightly into the icing. (refer to photo below)
    • For Mike - cover the remaining 6 cupcakes with the green frosting, and sprinkle some of the green coconut around the edge. Place a dollop of some of the reserved white frosting in the centre, and then put a pinch of blue or purple coconut into the middle. (refer to photo below)


And there you have it! The two types are slightly different due to one having lime frosting and the other having coconut, so I'd suggest trying one of each :-) I think these are my favourites so far in terms of look and taste!


Next time it's Finding Nemo, and I'll be experimenting with seaweed!

Happy Thoughts
x